On the other hand, if you're more of an armchair composter, take a look at some garden photos of Go Green Northbrook members who gave us the scoop on their recipes for great compost.
As you can see from the photos below, GGN members, John and Merilee Novinson, have an enviable backyard. These are just a few of the pictures we took in September.


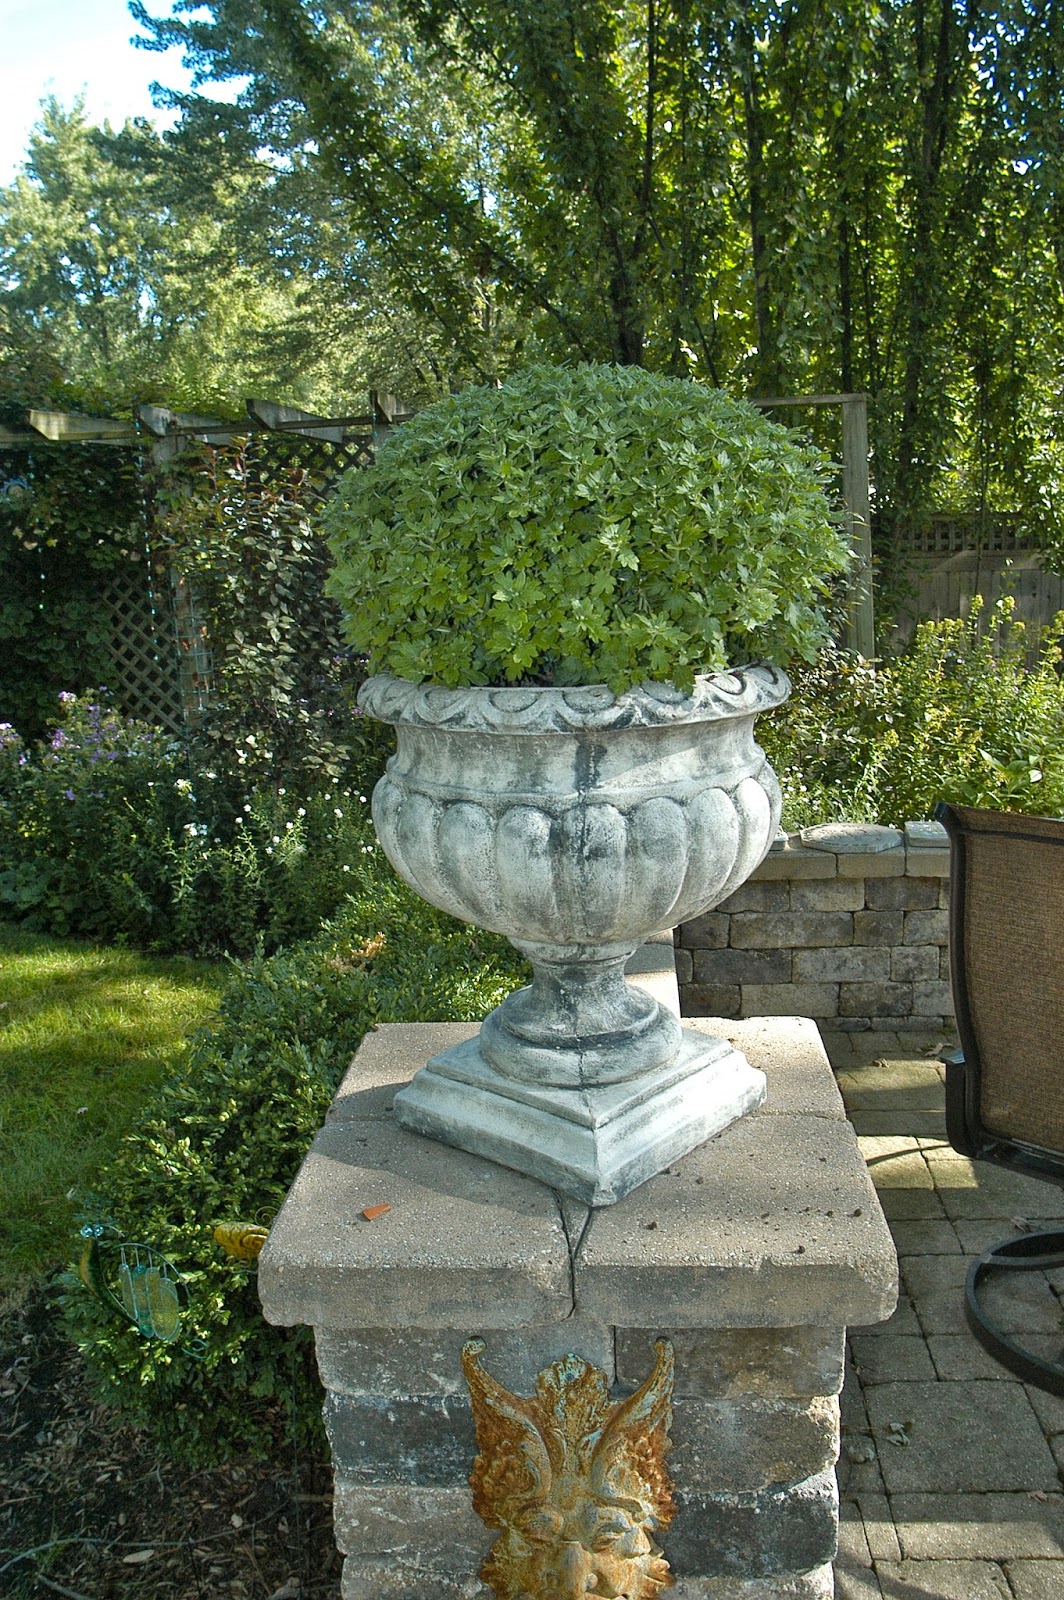


The Novinsons try to avoid manmade pesticides and fertilizers as much as possible, so a good part of their gardening success relies on composting.
It all starts at the kitchen sink, where egg shells, coffee grounds, and vegetable matter -- anything leftover from cooking that you'd usually put down the disposal -- is tossed into a covered ceramic container. However, no meat or milk products are allowed. When the container is full, they empty it into one of three compost bins located in the back of their yard, all of which are well hidden behind a work shed. In a perfect composting world, each bin would been in a different stage of development, but Merilee confesses they aren't as scientific as some and work all three equally. Grass clippings and leaves are also part of the mix. They also add extra dirt to encourage earthworms to do their part.


Merilee Novinson demonstrates her technique for shoveling compost on top of the screen so it can be sifted into the wheelbarrow for use in their garden. Any clumps of compost too big for the screening are returned to the bins.
Go Green Founder, Doug Gerleman [below], uses his side yard to create compost for his garden. The area is protected by a chain link fence and tucked behind bushes. His garden compost nourishes raspberries and grapes as well as a variety of vegetables. He even harvests his next door neighbor's pears and the apples from another neighbor's tree, mainly so they don't go to waste. In the spring he carries his finished compost over to the Community Garden at the Episcopal Church, where he grows even more fruits and vegetables.

Two helpful composting web sites suggested by Doug are:
It is very important for a group composting effort to assign specific people to water and turn – aerate the compost. If dead plants are just thrown in a bin area without water or turning they do not decompose quickly. Also, if weeds-seeds or plants with herbicides are put in the compost pile everyone’s garden plot will be contaminated.
The Northbrook community gardens each created 4 compost bin areas. (You can see them at the Village Garden behind the Village Hall or behind St Giles on Walters.) The first bin is for raw, uncomposted plant material directly from a garden plot. As the material ripens 1 person is responsible for turning and watering it, and then moving it to the next more-composted-stage bin. This turning and moving the compost to bins 3 and 4 continues as it ripens. When the compost get to the final bin it is “mature” compost and ready to spread on your garden.
Also, the more sun that gets to the compost bins the more rapid the decomposition.
No comments:
Post a Comment